
In The Lab • PART 3: Duplicating Silicone Flat Mould KarambitKnives,com
Welcome to the channel.
“In The Lab”
with
MARK FX
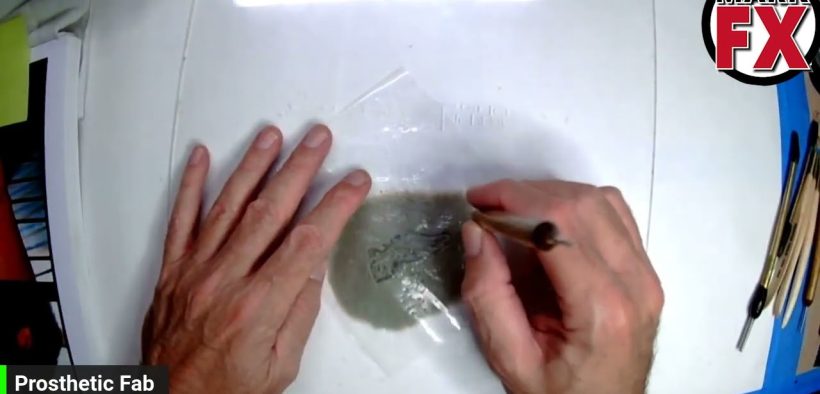
PART 3: Encapsulated Silicone Prosthetics: Duplicating a silicone flat mould from the same sculpture for continuity and/or production multiples.
This technique does not involve any lifecasting.
Instead of a lifecast positive for your prosthetic appliance sculpture, you sculpt on a flat, non-porous surface such as in this video, a transparent acrylic sheet.
Thus making the final prosthetic appliance “generic” fitted on anyone.
Commonly referred to as “Flat Mould Technique” or “Scrape Mould” – Filling the negative flat mould with prosthetic appliance material and carefully “scrape” excess material away with a spatula/straight edge/squeegee into a “cutting edge trough” surrounding the appliance negative producing a fine blending edge in the end.
Some scrape moulds can be rigid like plaster, gypsum cements, and plastics. These are usually used when not a blending “skin” is needed. Like slush latex, straight silicone and gelatin.
The “3D Transfer” technique also uses the flat mould process but with silicone as the flat mould material for the flexibility in processing and sometimes application of appliances.
In this video it’s essentially the 3D Transfer technique but without Prosaide as the appliance material, without the transfer paper and acetate and certain processing techniques.
Instead it utilizes bald cap plastic and silicone as the appliance material.
The bald cap plastic, or “cap plastic” is a liquid plastic with either acetone or isopropyl alcohol as a carrier – solvents that retains the plastic’s liquid state, thus when the carrier evaporates/dries, acts as a flexible encapsulated skin for the silicone to blend into the model’s/actor’s skin by dissolving the appliance’s edges with the carrier solvent.
The cap plastic also acts as a barrier if platinum/addition cure silicone is used for both flat mould material and prosthetic appliance material. But it is NOT a sure thing as you still run the risk of bonding issues. Nothing sticks to silicone but itself!
The clay used for the appliance sculpture is an oil based, non drying clay. It’s very important that the clay has no sulphur in it’s make. Sulphur inhibits the cure of Platinum/Addition cure silicone.
Platinum/Addition cure silicone is the choice for appliance material due to the fact that it is “skin safe”, has a longer library life, is usually translucent which lends itself for accurately intrinsically pigmenting to match an actor/model’s skin tone.
Mix ratio is simple, usually 1:1 and very forgiving – in this video I “eye” the mix ratio but I encourage you to use a scale to accurately weigh each component as to not waste product and for consistency in production of multiple pieces.
In this video i also use platinum silicone as my flat mould material – it’s also very strong.
Platinum/Addition cure silicone uses chemical reaction to cure. Which means there is heat in the process so you can accelerate the cure by adding more heat! This can be good and bad.
My “workshop” is a Florida Room. It’s is summer. It’s hot. This videois an example of heat not being to friendly with platinum/addition cure silicone. The second mould was jeapordised by heat accelerating the cure before it had time to properly process. It’s still usuable as indicated in the video but could be potentially worse and can be a waste of product and time.
You could use a translucent Tin/Condensation cure silicone as your flat mould material BUT you need to make a strong barrier from platinum silicone-the appliance material, from inhibition. Tin and Platinum silicone don’t jive. And you cannot use Tin silicone as a prosthetic appliance material. Tin silicone is not skin safe-leaches a toxic oil. Also most tin silicone’s are not translucent for accurately pigmenting. Tin cure silicone is reserved for mould making and props.
The sculpture in this technique is usually smaller in size, with 1/4″ in thickness at the most, as to fit “generically” to any model/actor. Usually reserved for cuts, burns, “old age” pieces like eye bags, cheek/jowl pieces, forehead.
Stay tuned for the next “In The Lab” • PART 4: Bald Cap Plastic Test
Sorry folks for the vagueness in narration, i took it for granted that you all know what i’m talking about..this video series is not for beginners.
**Any Questions Please Comment Below**
The fantastic reference from Benito Garcia!
“Special Effects Guide Of Real Human Wounds and Injuries”
Amazing book from Todd Debreceni:
Special Makeup Effects for Stage and Screen: Making and Applying Prosthetics 4th Edition
Thanks for watching.
Mark
*Music backing tracks by Elevated Jam Tracks and Mark FX.
Thanks for watching.
Mark
source
KarambitKnives.com